I can't believe we're already mid-February and spring is almost upon us. I wanted to do an updated post on how I filter my photos since it's one of the most frequently asked questions I get. Thank you for your patience as I finally got around to this blog post and figured out how to release this preset! I appreciate your support and wanted to give you this preset, which I personally use on a daily basis and tweak it base on the mood I'm in. I find that this preset works best with cool hued photos to add balance since I've added a bit of warmth to the filter.
Stay tuned as I will be releasing other presets!
TIPS:
1) Take photos in natural lighting. I find that this works best for any type of content I'm shooting for. Usually morning or afternoon lighting is best.
2) When taking a photo, I often don't take photos facing the sunlight as it can wash away the photo. Take a photo in the direction the sunlight hits because the lighting can be a bit harsh when facing it. But, I would also suggest playing with different angles and playing with the light. Use lighting to your advantage and see what works for you :)
3) When using filters, don't overdo it with brightness, saturation, and contrast. Personally, I like to add a hint of pink in my photos or sometimes add a bit of warmth to it. Some mobile apps that I've been using on the daily is lightroom, snapseed, and vsco. I like to use the curve tool on lightroom and snapseed, I find that it helps even out the hues and brightness.
4) All my instagram photos are taken with my iPhone and I edit my photos with the apps mentioned above. I'll straighten and adjust the perspective with the editing tools on my iPhone photos app first before editing it on other apps.
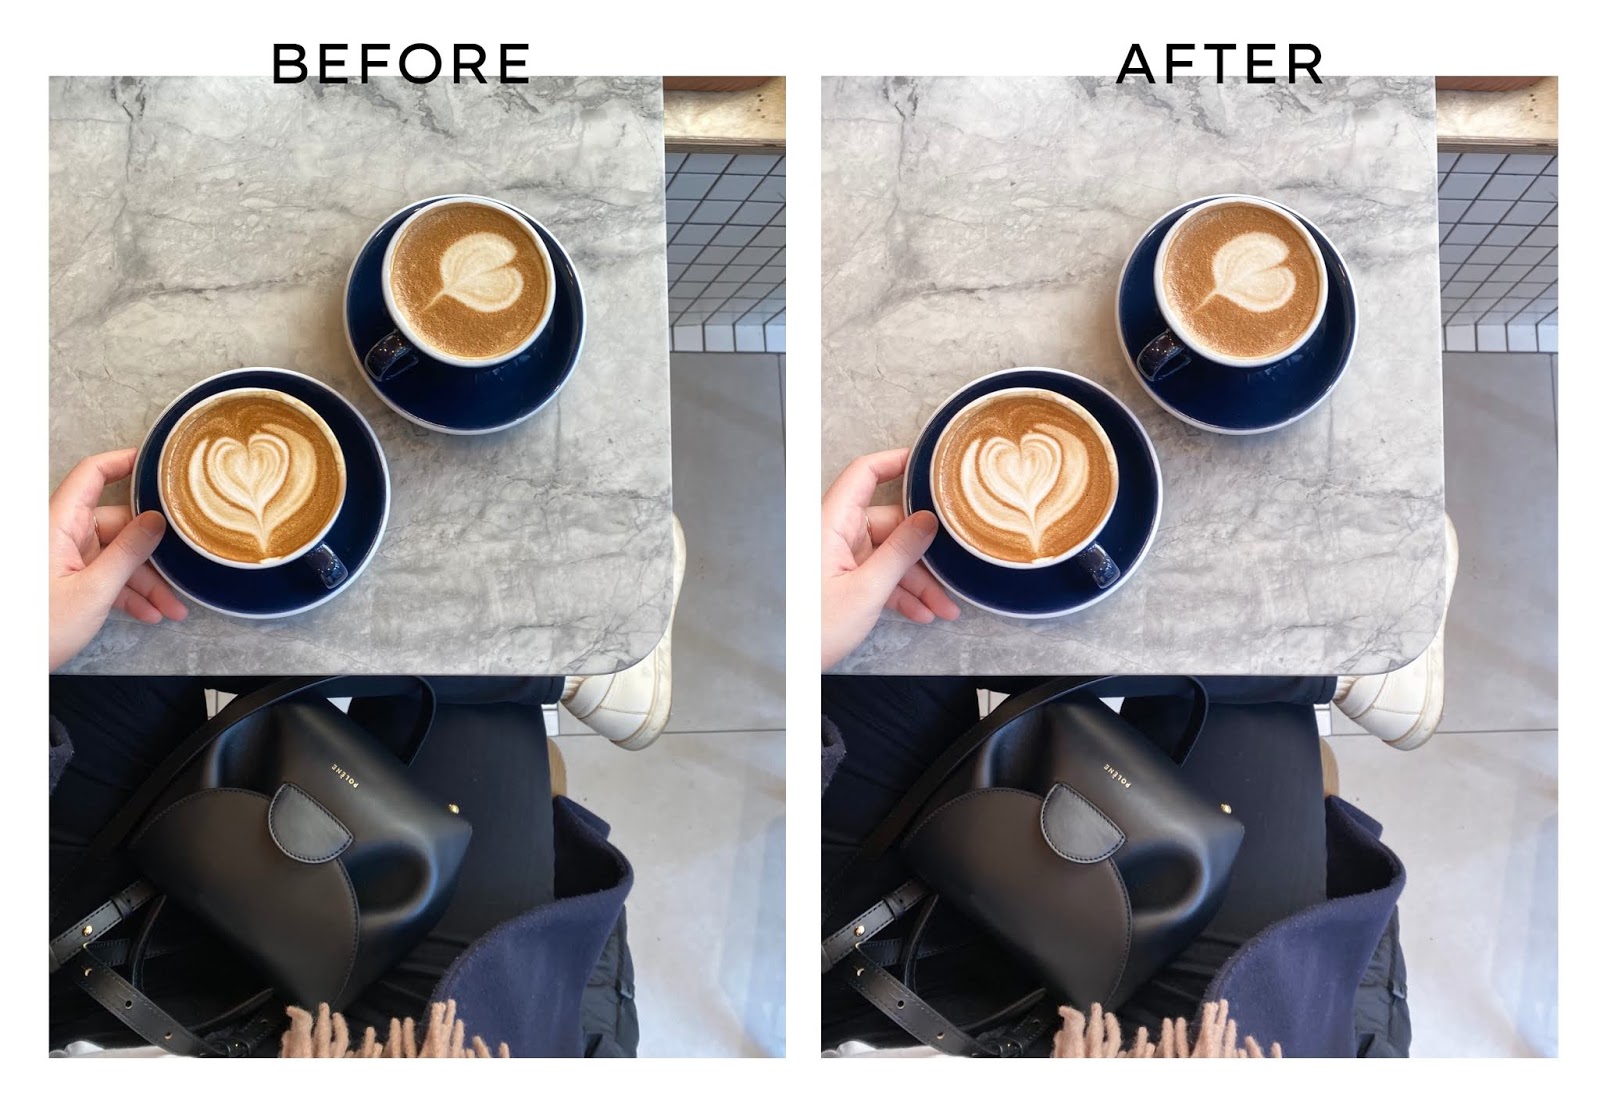
Here are some before & after photos with the preset. I find that this preset works best with photos taken indoors such as at home, cafes, and flatlay shots.


Click on the image below to download the late afternoon preset, enjoy :) Or click here.

How to use this preset:
1) First download the Lightroom Mobile App (it's free) in the app store and download the dng file from the link above.
2) Once downloaded, save the dng file to your camera roll.
3) Pick a photo from your camera roll and select it to add it into the Lightroom app.
4) Go back to the dng file, on the top right are three ... , click copy settings and select the check mark on the top right. This will copy the preset settings.
5) Go back to the photo you want to filter, and click the top right ... and it will give you an option to paste settings. Voila, the preset has been added to your photo!
6) Please note that you may adjust the photo to your liking by adding brightness, contrast, saturation, etc. One tip I would say is you can paste the preset twice, which creates a brighter, blush tinted photo.
7) Enjoy and play around with the settings :)
I hope you enjoy the filter! Thank you for your support and patience :)
Please let me know if you have any questions!
I found this video useful for those that may need further instructions or help on how to download and use this mobile preset.
Love, Sharon
Hi, Neat post. There is a problem with your website in internet explorer, would check this… IE still is the market leader and a large portion of people will miss your excellent writing because of this problem.apps pour pc
ReplyDeleteWhile you want to take a good id photo, Make-up should be subtle and the same time reflect your everyday look. The point is that there will be no problem identifying you during passport control.
ReplyDeleteLove your blog ❤ Btw, i can't access the preset link above..it shows a notification that I don't have access when I download it
ReplyDeleteYou might need to make a rundown of photographers to look at them. Nonetheless, regardless of how fortunate or unfortunate the photographs are, wedding photo frame collage
ReplyDeleteWhenever you as of now have a duplicate of the photograph you are utilizing in your scrapbook, then, at that point, it won't be an issue supplanting them. Clipping Path Service
ReplyDeleteAs you learn Photoshop and begin trying different things with adding embellishments to your photos you will learn a lot more procedures as well as various ways of accomplishing similar impacts.
ReplyDeleteghost mannequin service
Great post love it.
ReplyDeleteFor great photos, use natural lighting during morning or afternoon. Avoid direct sunlight and play with angles. When using filters, avoid excessive adjustments. Apps like Lightroom, Snapseed, and VSCO are helpful. Editing on an iPhone and using the Snapchat app can enhance your photos.
ReplyDeleteLoved this! Your filter tips and free preset are super helpful—editing can truly elevate a photo. I also use mypixeler for pro-level retouching and it makes a big difference!
ReplyDelete